

We can use this platter as Aarathi plate, Flower basket, Rings platter or any way we want.
Step: 1

1. Thick Cardboard
2. Cloth (Any color, any design)
3. Glue
4. Scissors
5. Ribbon (any color)
6. Cooker Gasket
7. Pencil
8. One Button or Kundan
Step: 2

Take the cloth and cut into 1 inch width wise.
Cut the cloth as much you needed.

Take the Gasket and apply glue for some part on all the sides. Do not apply glue for the full gasket. It will be difficult for you to hold.
Stick one edge of the cloth on the gasket and then continue to roll at the same distance. Roll the cloth tightly.
Once you reach the end point of the cloth apply some glue to the cloth and let it stick properly. Take other piece of cloth, apply some glue to one edge and place it exactly on top of first cloth ending. Continue the rolling carefully. Apply glue wherever you needed.
If you have a lengthy cloth, then you can roll at a stretch.
Once you reach the end point apply some glue to the edge and stick it. End point should not be visible. make sure it comes on the inside.
Keep it aside and let it dry for sometime.
Let's not call it gasket anymore since we gave it a new look. Let's call it as ring.
Step: 3

Take the ring and place it on the cardboard and draw an outline with the pencil. By using scissors cut the cardboard in round shape. Make sure it should be exact round shape.

Place that round card on the cloth and draw an outline by leaving 1 inch in all the way. Cut the cloth along that circle. It is fine, even if you don't get exact round piece of cloth. Place the cardboard on top of cloth and put it exactly at the center. Let's not disturb the position. With the scissors cut that extra cloth towards the center by leaving 1 inch gap.
See the image carefully.

Once we are done with cutting, apply glue to the cardboard and start fixing the extra cloth as shown in the picture. Let it dry for sometime.
Make one more exactly like this.
Step: 4

Looks like our ring dried completely.
Take any color ribbon, attach one end to the ring by using glue and then start rolling. No need to apply glue through out the ribbon. Roll the ribbon at the same distance.
Once you reach the end point, apply some glue and attach it.

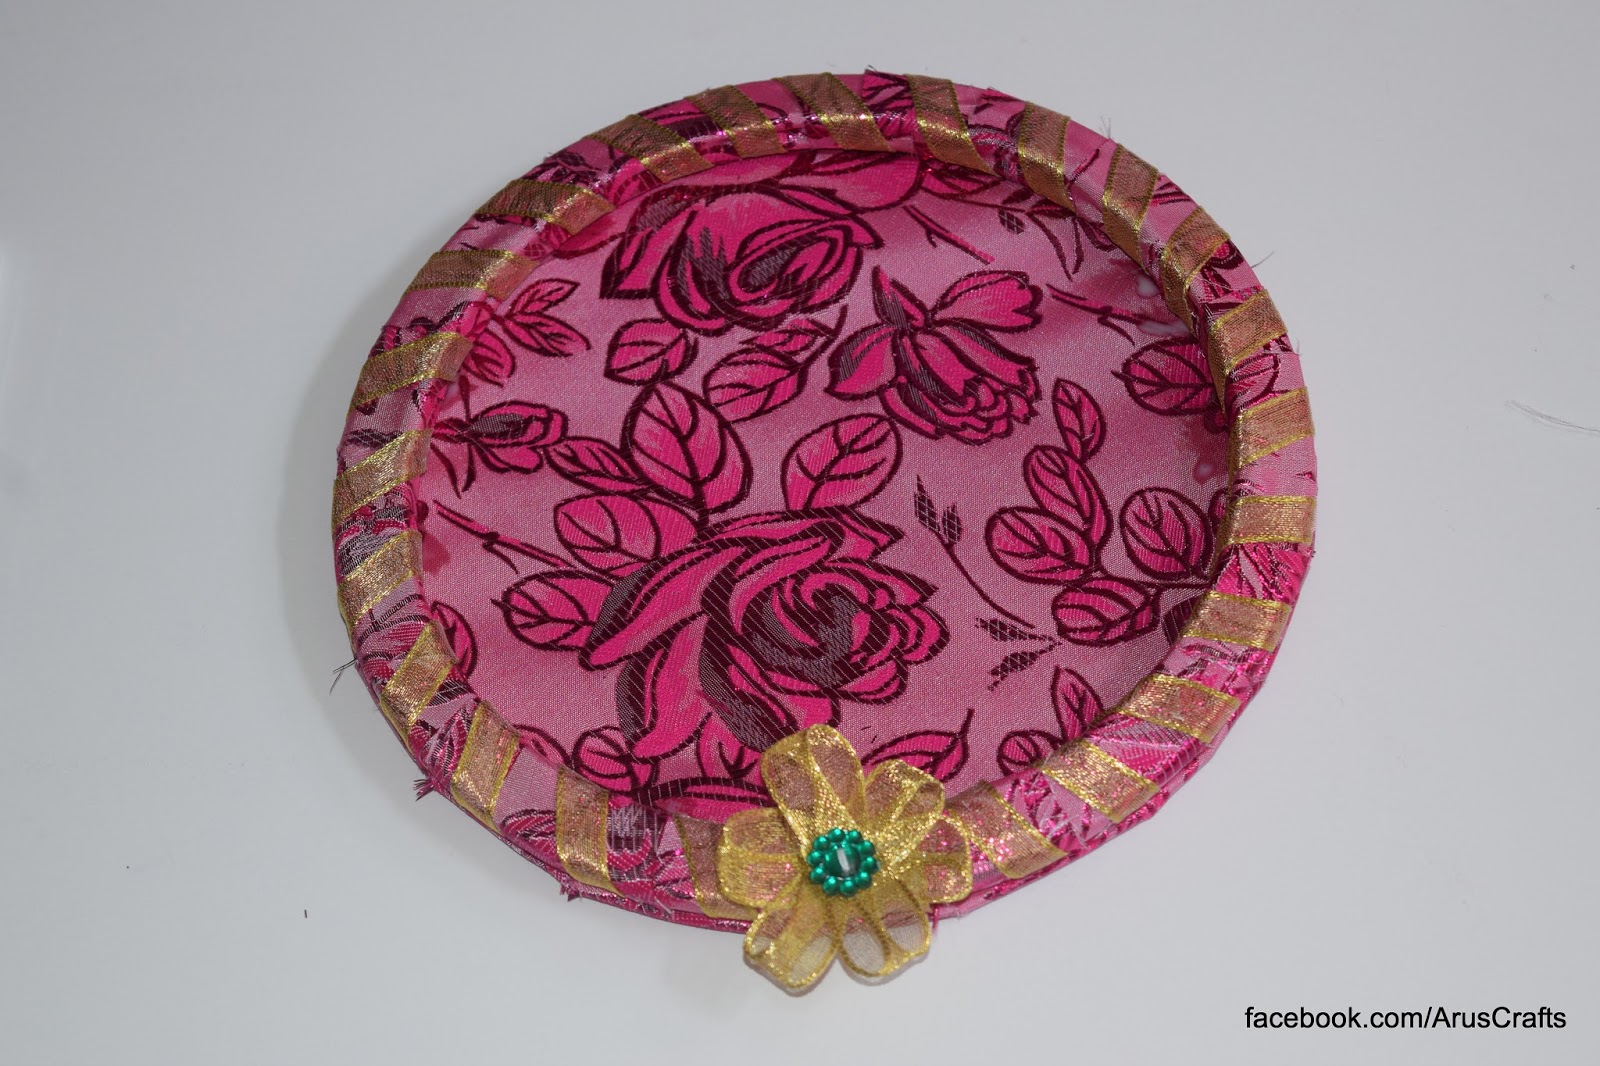
Cut 3 ribbon pieces with 4 inch length. Take 1 piece of ribbon, hold at the center and bring the two edges to the center. Do the same thing with other two ribbons. Place them as shown in the picture and stitch them at the center with needle and thread. Place any opposite color button or kundan at the center and then stitch it.

Apply glue at any point on the ring and place this flower on the glue and hold it for sometime to stick completely. If you want you can make some more flowers and attach them.
If you have any other flower, Instead of this you can place it.
Step: 5

Step: 6

Now take the 2nd round base which we made in step 3.
Place it as shown in the picture and apply glue to the full base and place the platter from step 5 on top of it. Press it gently.
Now the bottom of the base also looks perfect and also it gives double support, since we are using cardboard.
Put some pressure on top of it. I kept this under the bed for couple of hours until they attached together properly.
Our Simple and Elegant Decorated Platter is ready.
No comments:
Post a Comment